 Spectra
How-to · vinyl removal
Remove the film without guessing about the glass.
Identify the film and glazing, test a small area, control heat and tools, and stop when the substrate or adhesive response is uncertain.
Published by Spectra · no named expert reviewer is claimed · last reviewed 17 September 2026 · operational guidance, not technical, legal or safety certification.
The practical answer
There is no universal ‘scrape it off’ method. Confirm the glass type, coatings or applied films, vinyl condition, access and manufacturer guidance first. Use a small test area and the least aggressive workable method; escalate uncertainty rather than damaging the glazing.
Assess
Identify what is on the window.
Ask when the vinyl was installed, whether it is on the inside or outside, and whether the glazing is toughened, laminated, coated, tinted, heated or already carries an architectural film. Inspect for cracks, chips and failing seals. Obtain property and manufacturer guidance where the build-up is unclear.
- Protect people, frames, finishes and the floor
- Plan access and isolate the work area
- Check chemical safety data and ventilation
- Do not assume a blade is safe on treated glass
- Photograph existing condition before starting
Test
Start small, warm gently and pull low.
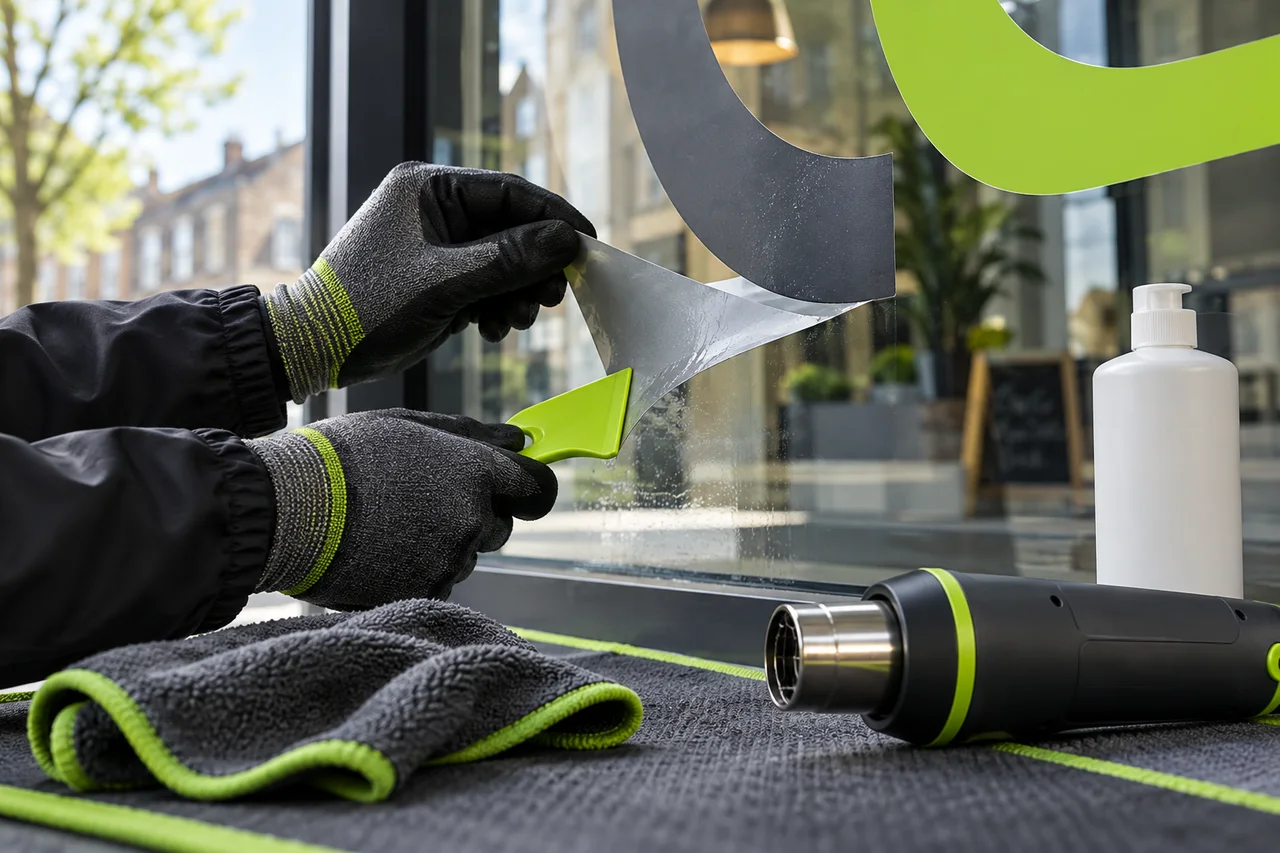
At a discreet edge, lift with a suitable plastic tool. Apply controlled warmth only within the film and glazing manufacturer’s limits, then pull the film back on itself at a low angle. Avery Dennison’s removal bulletin advises stopping and reheating if the film becomes hard to pull rather than forcing it.
Adhesive
Use chemistry only with evidence.
If residue remains, choose a remover confirmed compatible with the glass, coatings, seals and frames. Follow the product instructions and safety data, provide ventilation, test first and prevent runoff. Never mix chemicals. Remove softened adhesive with non-damaging tools and clean using the glazing supplier’s approved method.
Stop
Know when removal needs a specialist.
Stop for cracked or unknown glazing, brittle film that fragments excessively, unexpected coating damage, unsafe access, large high-level panes or any reaction you cannot identify. Record the test result and hand the decision to a competent glazing or graphics specialist.
A sample, not a promise